
If you need a simple way to restrict access to a website without having to introduce additional login pages, the HTTP Basic authentication mechanism might just be the solution you are looking for.
The quickest way to accomplish this does not even require you to update a single line of code in your website — you can set this up right from your Nginx or Apache configuration.
How it works
When accessing a URL protected by HTTP Basic authentication, visitors see a username and password prompt that looks like this:
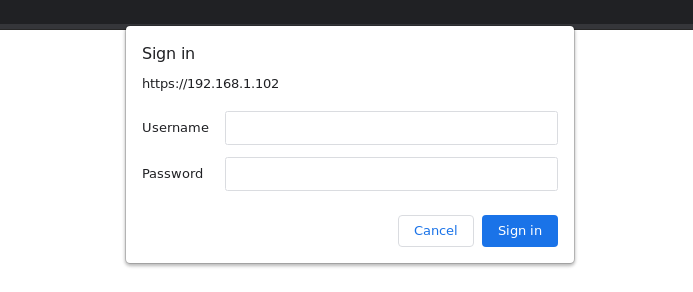
Some browsers display the HTTP Basic realm in the dialog.
This is what happens when a visitor requests a protected resource:
- Browser requests the protected resource.
- Server responds with an HTTP 401 Unauthorized status. In the response, the server includes the “WWW-Authenticate” header which indicates the HTTP Basic realm.
- Browser prompts the visitor to enter a username and password.
- Browser initiates another HTTP request to the server, including the username and password in the request headers.
- Server verifies the username and password in the HTTP request. If these are valid, the server responds with the requested resource. If these are invalid, the server responds with another HTTP 401 Unauthorized status.
Scope of authentication
The scope of authentication, or the”protection space”, in HTTP Basic authentication consists of the following:
- Canonical root URI of the protected resource being accessed
- HTTP Basic realm
The HTTP Basic realm is a string identifier used to group together protected resources within the canonical root URI, and to which a different set of usernames and passwords may be assigned. This is important because it allows having one set of usernames and passwords for, for example, https://example.com/path-a and https://example.com/path-b, and another one for https://example.com/path-c.
Setting up HTTP Basic authentication in Nginx
HTTP Basic authentication is very simple to set up in Nginx.
Install the apache2-utils package. This package includes the htpasswd command which you can use to generate and modify the password file in the format that Nginx needs.
sudo apt-get install apache2-utilsCheck what system user is used by Nginx to run the website. Normally, this is the user specified in the main Nginx configuration file /etc/nginx/nginx.conf “user”. In the following example, the user is “www-data”:
user www-data;Create the password file. Specify the first HTTP Basic user that will be able to access the protected resource. You will be prompted for the password for this user.
sudo htpasswd -c /etc/nginx/.htpasswd sample_userWhen the password file already exists and you only need to add another user or update the password of an existing user, just omit the “-c” flag.
Update the password file to be readable only by the system user used for the website. If the system user is “www-data”, run these commands:
sudo chmod 0600 /etc/nginx/.htpasswd
sudo chown www-data.www-data /etc/nginx/.passwd
Enable HTTP Basic authentication for the website. Edit the Nginx configuration file for the website, and specify the realm and password file path:
auth_basic "Sample Realm";
auth_basic_user_file /etc/nginx/.htpasswd;
Restart the Nginx server.
sudo /etc/init.d/nginx restart